Email2Lead Pro Installation Guide
Email2Lead Pro installs directly into your Salesforce org from an install link. It is not installed from AppExchange.
1. Open the install link
Log in to Salesforce as a System Administrator, then open the link for your org type:
- Production or developer org: https://login.salesforce.com/packaging/installPackage.apexp?p0=04tfn0000044Vnh
- Sandbox: https://test.salesforce.com/packaging/installPackage.apexp?p0=04tfn0000044Vnh
If your org uses My Domain and the link asks you to log in again, replace login.salesforce.com (or test.salesforce.com) with your My Domain address. The same links are on the Email2Lead Pro page. The same link upgrades an org that already has an earlier version; your settings and mappings are kept. Sandboxes are free indefinitely, and production orgs start with a free 30-day trial.
2. Choose who gets access
On the install screen, accept the terms and choose Install for All Users, then click Install.
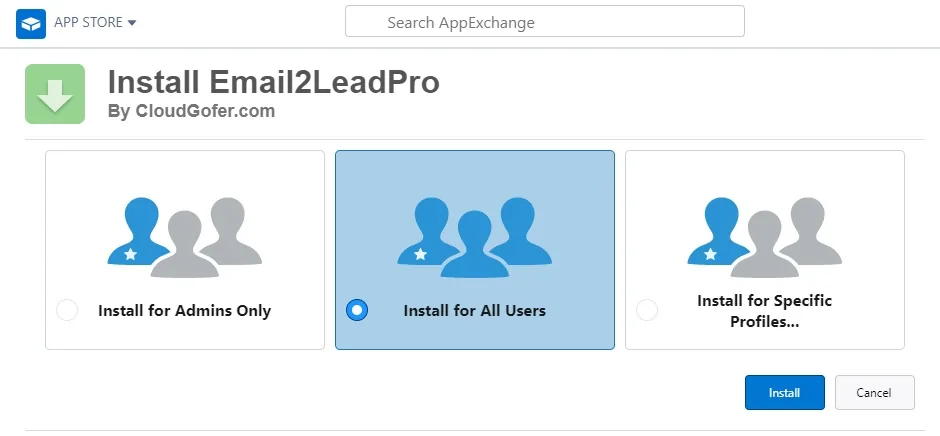
Installation can take a few minutes. When it finishes, click Done.
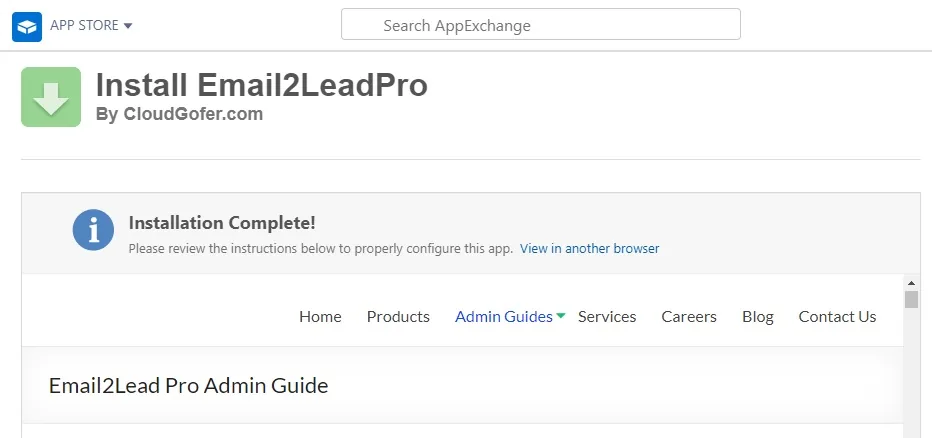
3. After you install
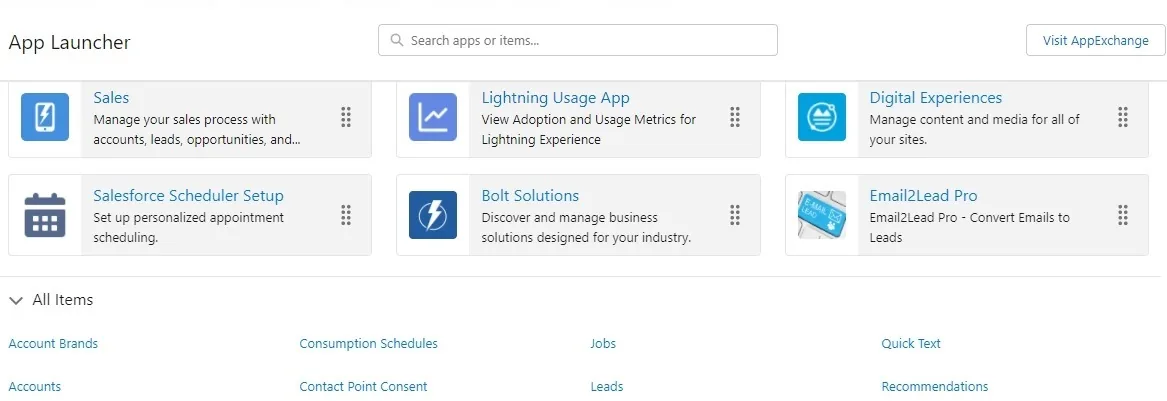
- Open the App Launcher, click View All and open Email2LeadPro. You can drag it to the top of the list so it is easy to find.
- Open the Getting Started tab and follow its steps.
- Set up your inbound email address and field mappings with the Email2Lead Pro Admin Guide.
Need help?
Use the in-app Open Case option on the Getting Started tab, the support form, or email support@cloudgofer.com with your org ID (Setup, Company Information).